
The A500 Mini (2022)
The miniature Amiga 500 replica that came out earlier this year finally answered my long-standing desire to play old Amiga games again. There are of course emulators for modern computers, but I have always found them hopelessly difficult to use. The A500 Mini, on the other hand, promised plug and play. I received mine in July and, after a couple of months of use, I feel confident enough to give my own assessment and a few tips for anyone considering buying the console. I will save the actual Amiga game recommendations for another time.
Nintendo, Sega and Sony had already released mini versions of their old consoles a few years earlier when, in 2018, the mini-sized C64, The C64 Mini, appeared on the market. Now, four years later, it has been joined by Commodore Amiga. I am not sure whether it is technically correct to call the mini-Amiga a console, but in practice that is how it behaves.
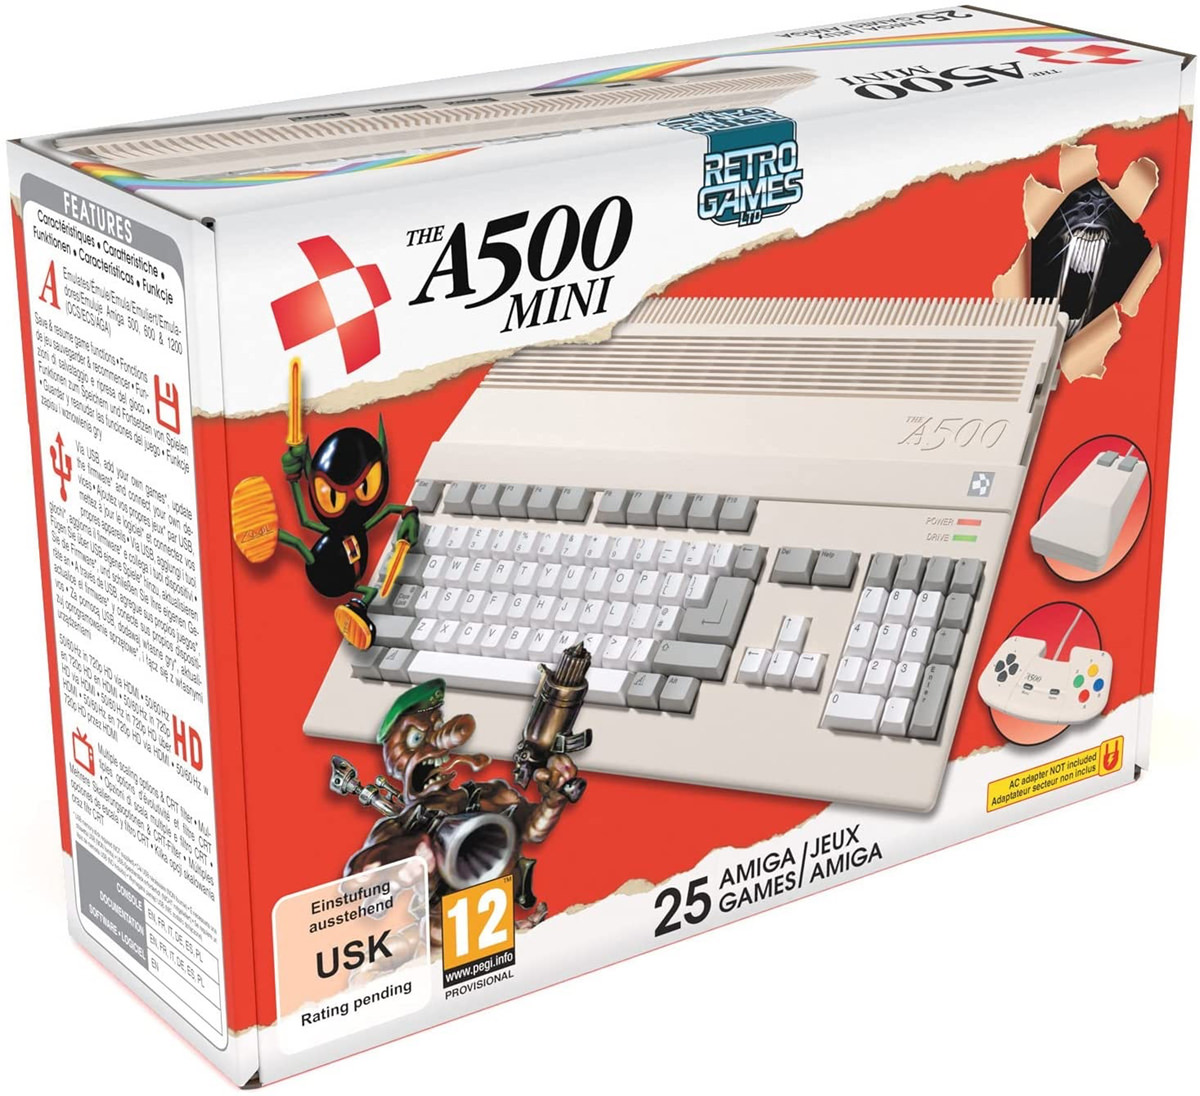
Both Commodore “consoles” are produced by Retro Games in the UK. Although the device’s name refers specifically to the Amiga 500, it also supports Amiga 600 and Amiga 1200 games. The absence of the Amiga name in the product title is due to the fact that Retro Games does not have the right to use it. The Amiga name is a registered trademark, currently owned by Cloanto.
The console solves the emulation problem
I play C64 games quite comfortably with the Vice emulator, likewise Commodore 16 and Plus/4 titles, and with a bit less comfort Spectrum and Oric games using their respective emulators. Playing Amiga games, however, has been extremely difficult ever since I got rid of my actual Amiga hardware. Downloading an emulator alone is not enough; you also need ROM files and a ROM key, which are not freely distributed. Even if you manage to collect these, you then face the maze of configuration settings. For me that was where the threshold became too high – in practice, it was a dead end.
There is an easier route: buying the Amiga Forever package for Windows, which includes the ROMs as well. I own that too, but I have not found the experience satisfying. I have not managed to get manually added games working, and this is probably down to the configurations. Since the A500 Mini promised to provide an easy way in and open a treasure chest of Amiga games, I decided to order one.
The short answer to whether the A500 Mini has lived up to expectations is yes. It has not been a completely pure plug-and-play experience, and navigating the interface has required some learning, while using more advanced features has meant reading the manual. But the console has finally given me access to a wide library of Amiga games. I do not mean just the 25 games that come with the console, but the thousands of other titles that can be downloaded separately or as curated collections.
Hardware and setup
The A500 Mini package includes the main unit, a gamepad, a mouse, an HDMI cable for connecting to a display or TV, and a USB-C cable that serves as the power lead. In addition to that you need a power supply. I was mildly surprised – and a bit annoyed – that a power adapter is not included, given that the device cannot be used without one, but an ordinary phone USB charger will do the job.
The manual says that a 1 A charger is sufficient, but in practice you need 2 A or more – at least for updating the firmware or using the console afterwards. If the current is too low, you may encounter unexpected problems. Because of the higher current requirement, I had to buy a new power adapter specifically for the mini-Amiga.
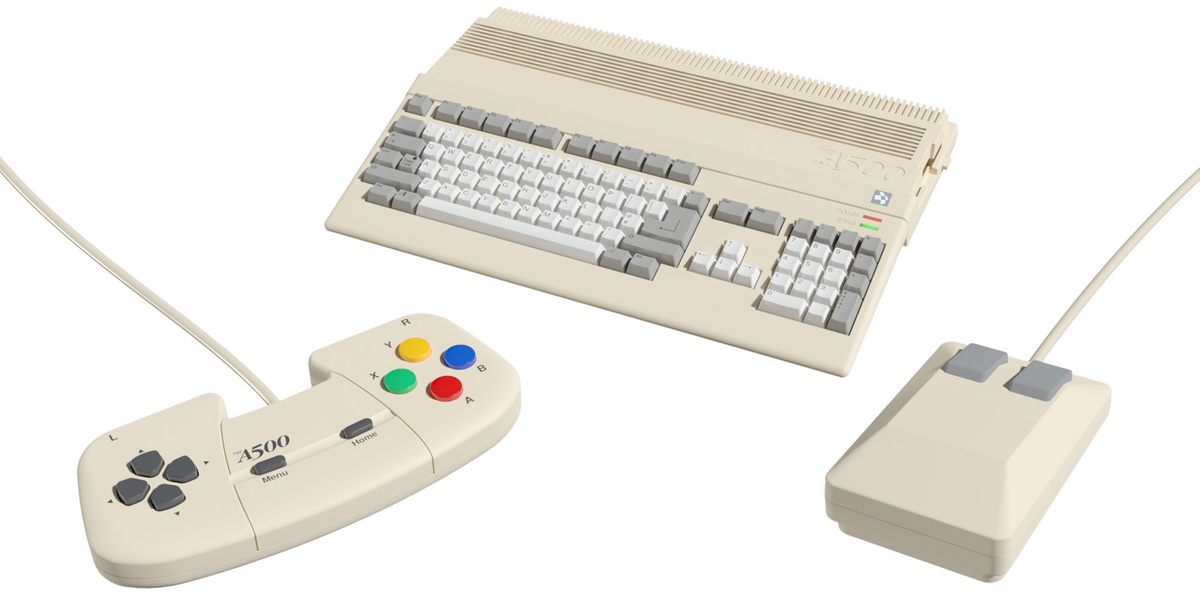
The main unit looks like a tiny Amiga 500, at roughly one quarter of the original size. When I opened the box, the small scale made me laugh. The main unit and mouse looked like toys.
On the original Amiga 500, the main unit includes the keyboard, just as it did on earlier Commodore machines, with the exception of the Amiga 1000. On the A500 Mini, however, the keyboard is not functional, which is compensated for with a virtual on-screen keyboard. The virtual keyboard is awkward to use, and I doubt how practical it is for actual gameplay. If you want to use a keyboard for playing, it is best to connect a physical one. Keyboards are connected via one of the USB 2.0 ports; there are three ports in total.
If you connect a keyboard, the gamepad and the mouse at the same time, all the USB ports are already occupied, which becomes a problem if you also want to load games from a USB stick or use a joystick. In that case you will need a USB hub to add more ports.
My current Amiga setup looks like this:
- A500 Mini main unit
- Monitor
- 2.4 A power adapter
- USB hub
- Gamepad
- Joystick
- Keyboard
- Mouse
- Headphones
- USB flash drive
The monitor I use is a 27-inch LG UltraGear with a maximum resolution of 2560 × 1440. The mini-Amiga scales to that resolution without any issues. It runs at either 50 or 60 Hz, and the monitor has automatically selected the appropriate refresh rate. The PC that is connected to the same display runs at 120 Hz, but there have been no conflicts or oddities between the devices.
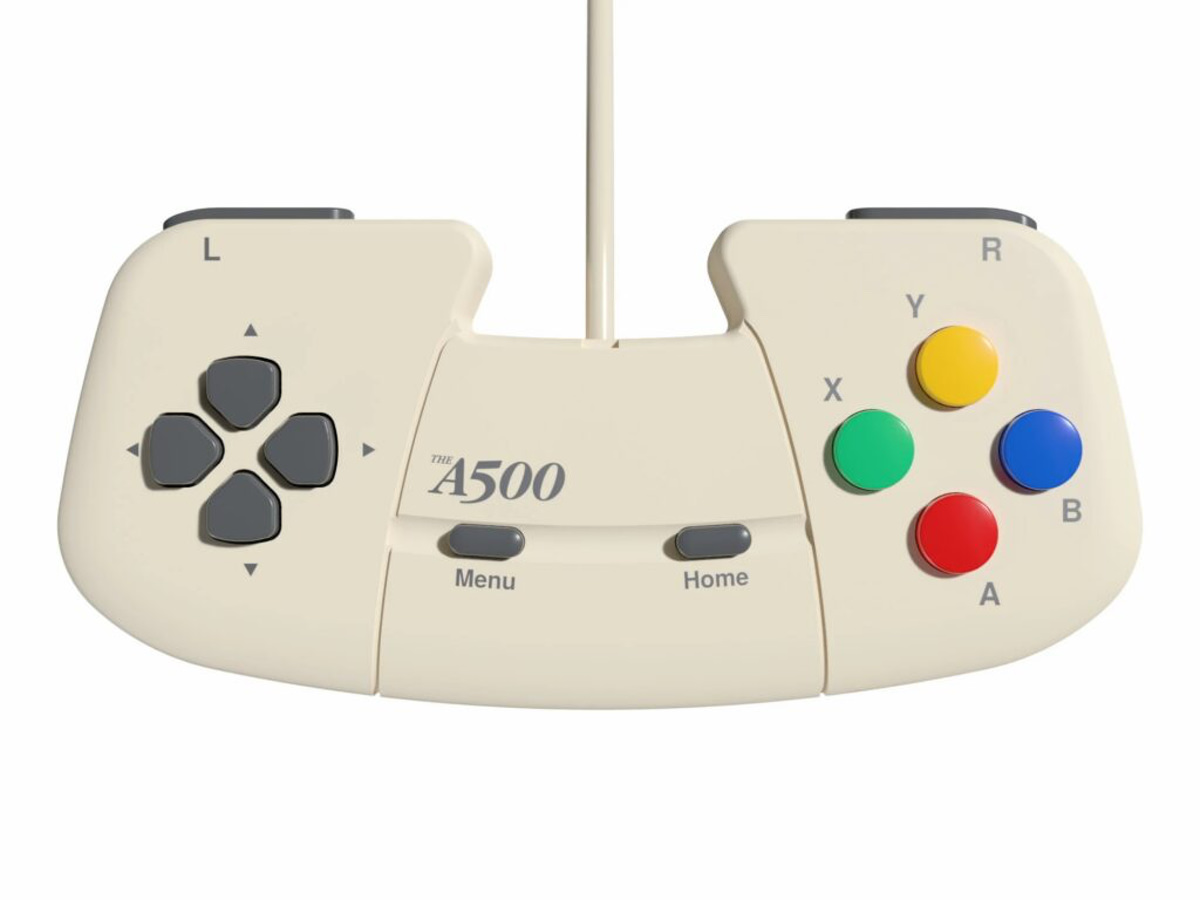
The bundled gamepad is also used to navigate the A500 Mini’s interface — the menu where you choose which game to play, adjust game-specific settings and manage save slots. The pad resembles a typical console controller, but it does not have an analogue stick; all movement is handled with the D-pad. The gamepad is slightly smaller than average, but I have not minded that. It is light and fits comfortably between my hands. I do miss having an analogue stick, because I assume it could have worked as a convenient stand-in for the original joysticks.
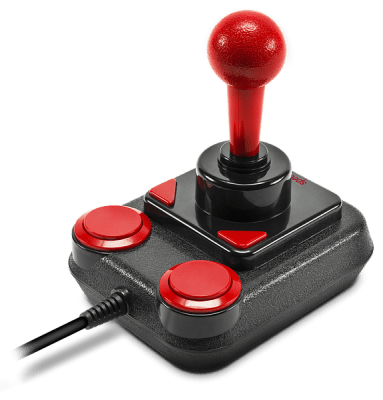
For joystick duties I use a genuine joystick, the Speedlink Competition Pro, which also works with the mini-C64 and, naturally, with modern computers, as it connects over USB. The joystick is fairly stiff and loud because of the microswitches, but it is said to be durable and repairable. Some games practically require a joystick, as they are not very comfortable to play with the gamepad.
The mini-Amiga can also work with certain third-party controllers such as PlayStation and Xbox gamepads, but in my own testing the analogue sticks have not functioned. I also tried a Hori Fighting Stick Mini, but that did not work at all.
I already had a full-size keyboard and mouse, even though a small mouse is included with the console. Like the joystick, the keyboard and mouse are connected to a USB hub that also shares them with my other computers, so I do not need a separate set just for the Amiga.
My headphones are connected to the monitor, which means they are available for all devices plugged into that display. I have not yet set up any external speakers.
Bringing in games via USB stick
Out of the box, the A500 Mini provides access to the 25 games that come preinstalled. They do not require any configuration and generally work well with the gamepad. These titles are also legally licensed inclusions:
Alien Breed 3D • Alien Breed: Special Edition 92 • Another World • Arcade Pool • ATR: All Terrain Racing • Battle Chess • Cadaver • California Games • Dragon’s Breath • F-16 Combat Pilot • Kick Off 2 • Paradroid 90 • Pinball Dreams • Project-X: Special Edition 93 • Qwak • Simon the Sorcerer • Speedball 2: Brutal Deluxe • Stunt Car Racer • Super Cars II • The Chaos Engine • The Lost Patrol • The Sentinel • Titus the Fox • Worms: The Director’s Cut • Zool: Ninja of the “Nth” Dimension
But of course, I had a completely different set of games in mind.
Games outside the built-in selection are brought to the mini-Amiga via a USB stick. I use an 8 GB stick, which is more than enough for games and save files. At this point the experience is no longer plug and play.
The mini-Amiga supports two game formats: WHDLoad and ADF. First, the USB stick must be formatted as FAT32 with an MBR (Master Boot Record) partition scheme, and the WHDLoad Package has to be copied to the root of the drive. This package can be downloaded for free and enables the use of countless WHDLoad games, which can likewise be downloaded freely from various sites, whether or not this is legally clear. Individual titles can be downloaded from the WHDownload site, and complete collections from, for example, the Internet Archive.
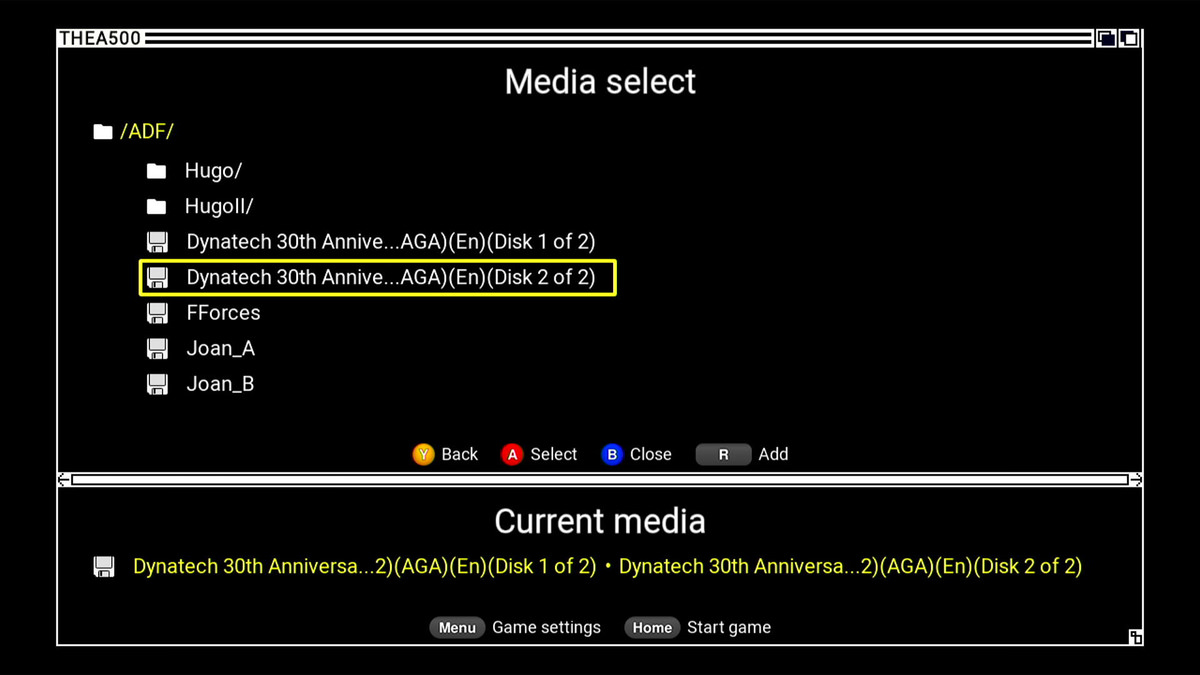
Games in ADF disk-image format require an A500 Mini firmware update. You cannot perform the update from within the console itself; instead, you have to copy it onto the USB stick using another machine. You then plug the stick into the mini-Amiga and select the update from the settings menu. After that, ADF-format games can also be launched on the mini-Amiga.
Updating the firmware is worth doing even if you never touch ADF games. The update enables the use of two controllers, for instance a joystick alongside the gamepad, and in general allows for two-player games. It also lets you use a keyboard to navigate the interface.
I ran into some unexpected difficulties when trying to format the USB stick using the MBR scheme. Windows always wanted to format it as exFAT and would not let me choose anything else. Eventually I realised that MBR stands for Master Boot Record, and that my Mac’s Disk Utility could handle the job. I cannot say how to achieve MBR formatting under Windows; it probably requires a third-party tool. On Linux it may be easier, and on macOS it definitely works via Disk Utility.
User interface
When you power it on, the A500 Mini greets you with a red screen and a classic checkered Amiga ball bouncing into the centre. The simple launcher-style interface opens fairly quickly, and a pleasant ambient soundtrack starts playing in the background. The interface is available in English, Spanish, Italian, Polish, French and German.
Inside the mini-Amiga there is an H6 ARM processor (up to 2 GHz) and an ARM Mali-T720 MP2 GPU (up to 650 MHz), with 512 MB of RAM. The interface and built-in games are stored on 256 MB of flash memory. Storage can be expanded with a USB stick; the maximum supported capacity seems to be 128 GB. This hardware combination gives the Amiga a snappy feel. The interface is built on Linux and Amiberry 3.3, while the emulation is handled by UAE.
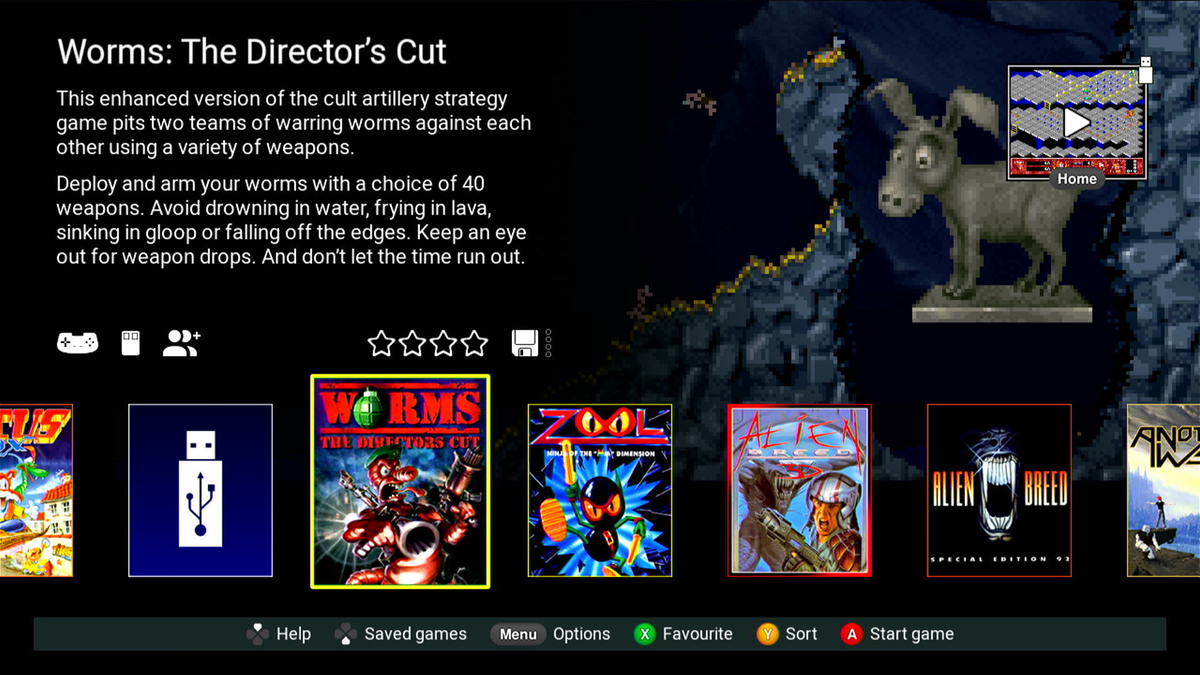
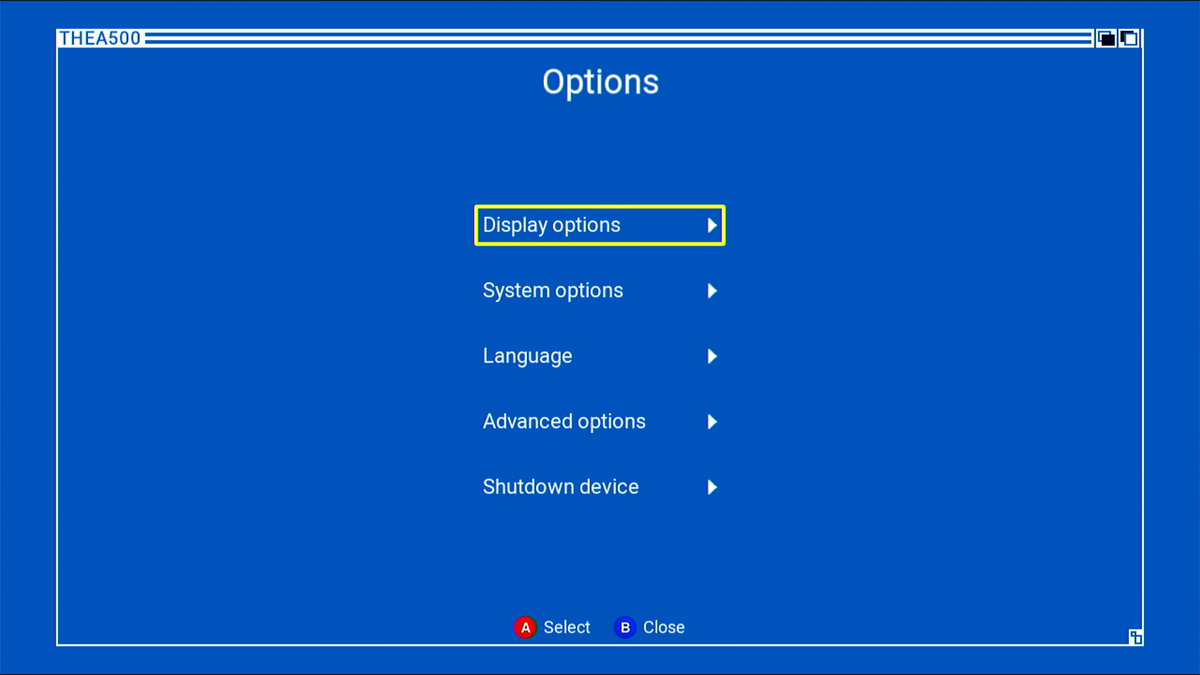
Navigation in the A500 Mini interface is done with the gamepad, as on other consoles. After the firmware update you can also use a keyboard instead. Learning which button to press at which moment takes a bit of practice, but experienced console players will probably find this more intuitive than I did. The mini-Amiga also has special button combinations — hold this button and then press that one — which require repetition before they become muscle memory.
Starting one of the 25 bundled games is fairly straightforward. You move through the carousel with the D-pad and press A to launch your chosen title. If you want to switch the control method to joystick after the game has started, you hold down the Home button and then press X. Some games use the mouse by default, and you may also need the keyboard. If a game needs more buttons than the gamepad offers, you can access an additional button set with the R button, but I have not yet had to use that.
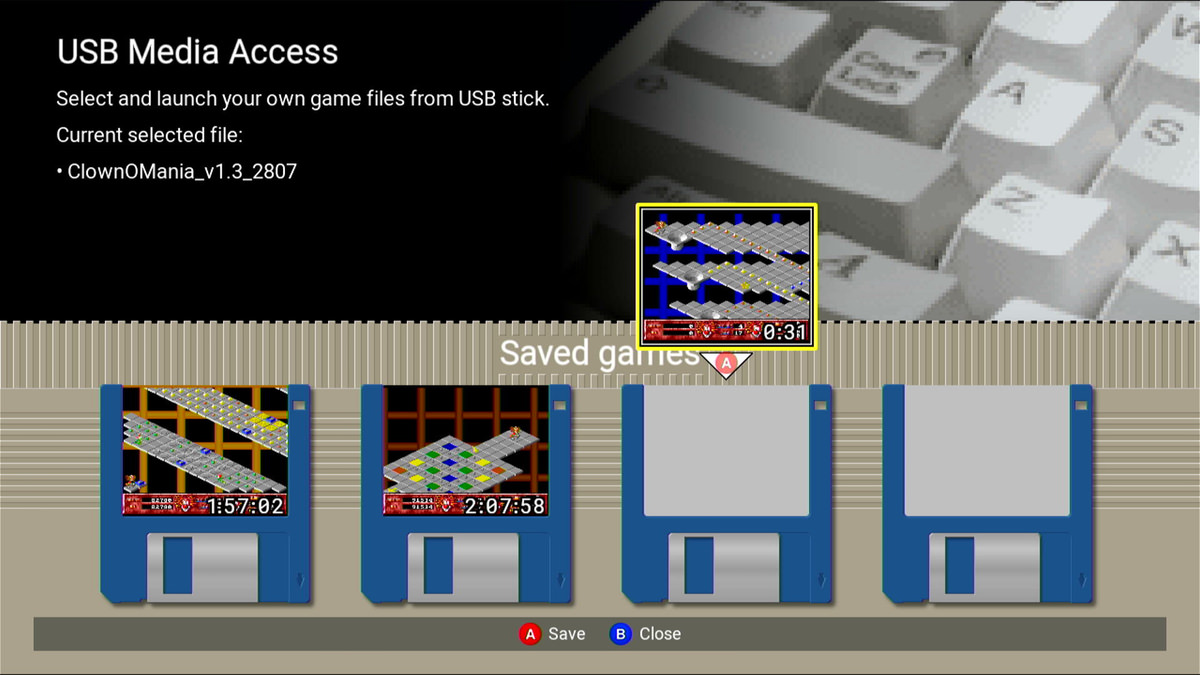
The A500 Mini lets you either freeze or save your game state. Freezing simply pauses the game so you can continue later, as long as you do not start another game or power off the device. A proper save, on the other hand, survives both launching other games and shutting the console down. Learning how to save and load took a little focused practice, but it is not particularly complicated. Save states also allow “cheating” in games that do not include their own save feature. I took advantage of this almost immediately to finally complete a game that had eluded me in the past.
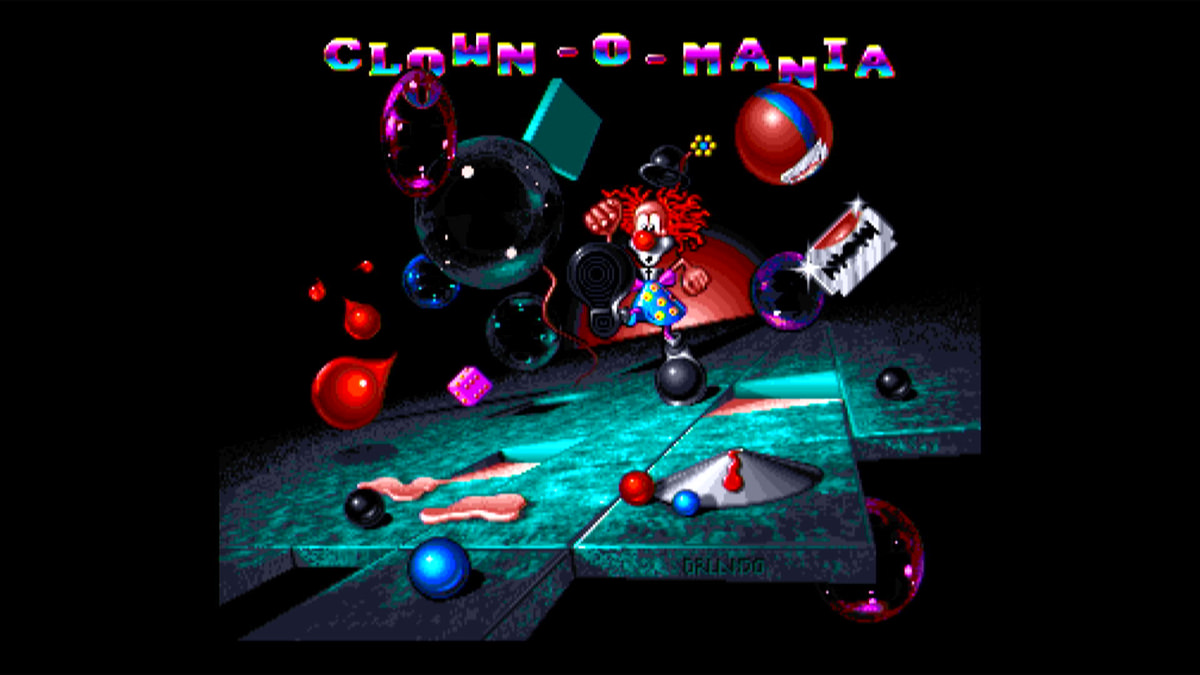
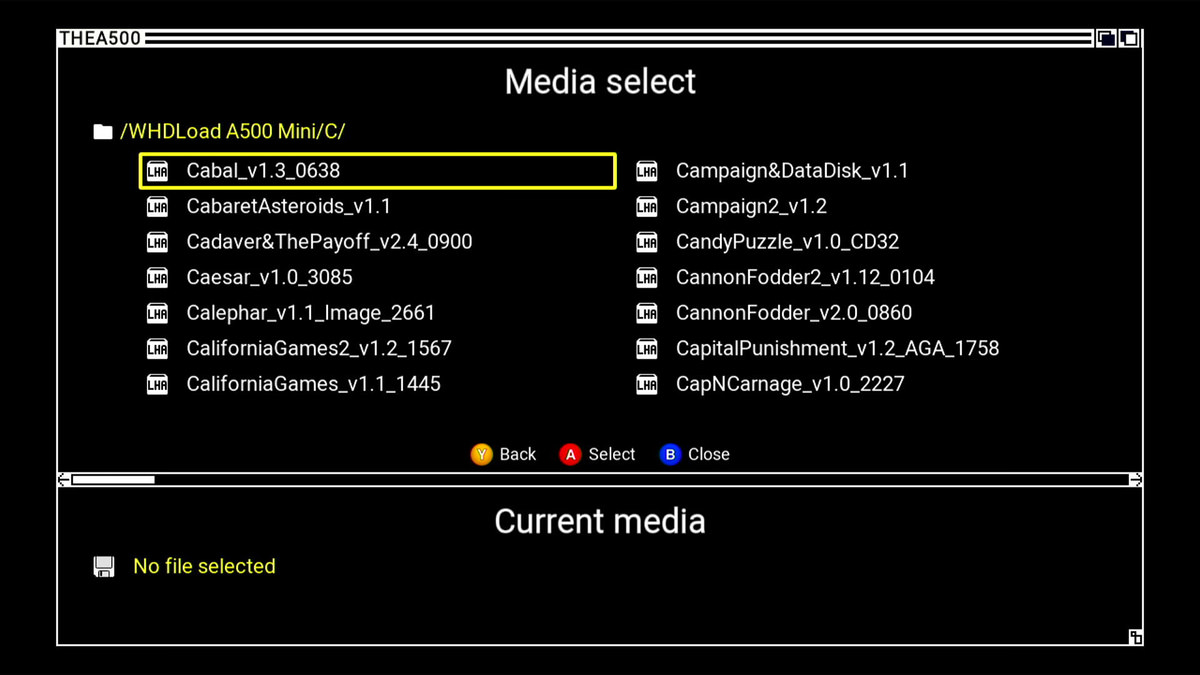
Launching games from a USB stick is not as straightforward as starting the built-in titles, since they do not appear individually in the carousel. Instead, they sit a few steps deeper in the menus: you have to browse the stick’s content, and there are more button presses involved. However, you can still pause stick-loaded games and save your progress; those saves are stored on the USB stick.
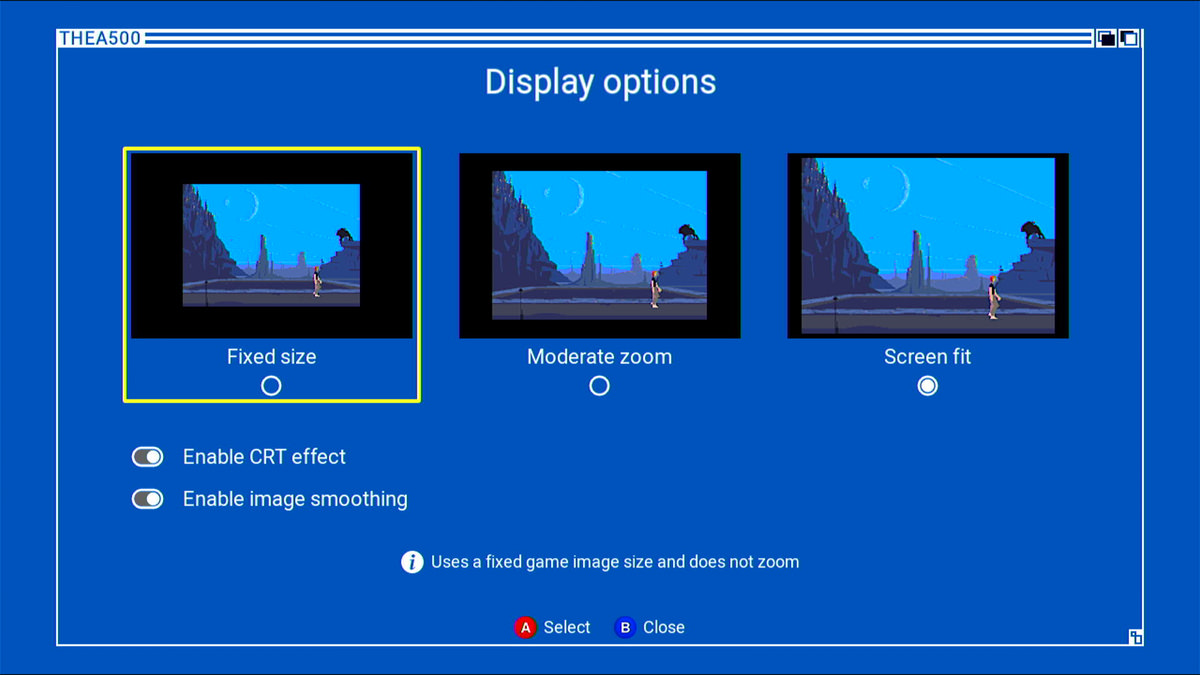
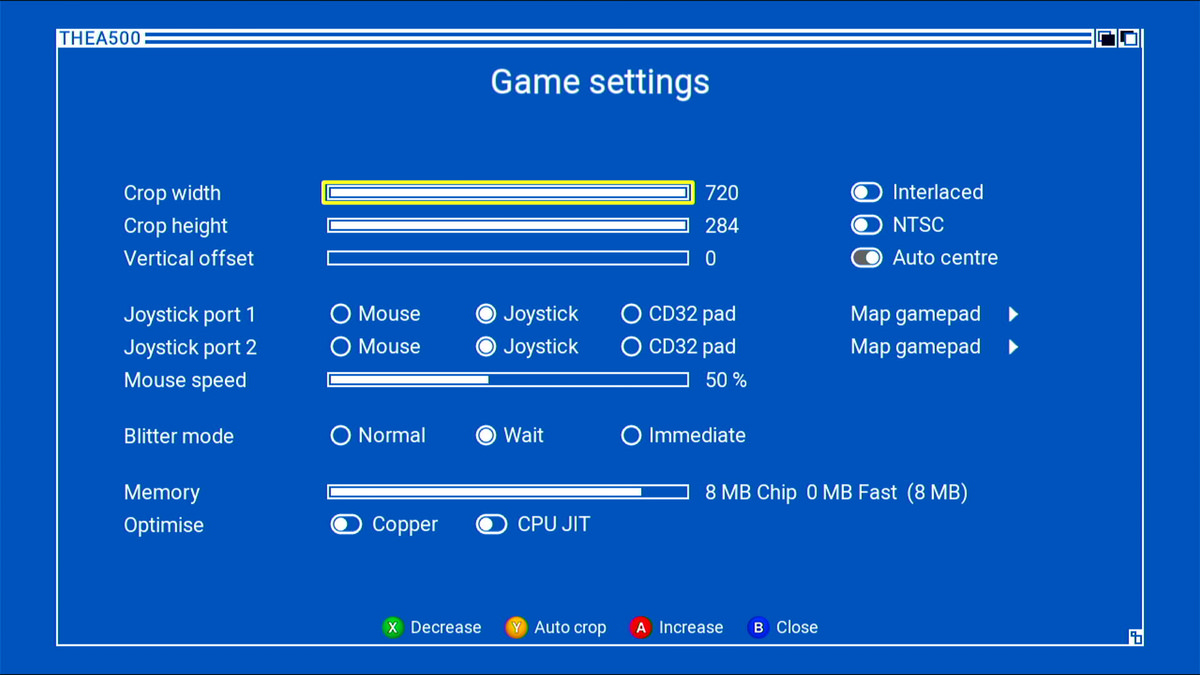
You do not necessarily need to tweak any settings on the mini-Amiga. It works out of the box with default configurations. Games loaded from a USB stick may require some game-specific adjustments, but in my experience so far this has not been necessary — or has turned out to be needless tinkering. For someone who has wrestled with traditional emulators, it feels luxurious not to have to fiddle with settings. I have, however, spent some time adjusting the control schemes, because I do not want to use the gamepad for everything.
Availability
The A500 Mini is available from Finnish online retailers and department stores. I ordered mine from Verkkokauppa.com and had to wait about a month for delivery.